With my first film I had a lot of help editing, but this time I
was taught the basics of what I needed to know to put this
piece together, so I was able to do it mostly independently.
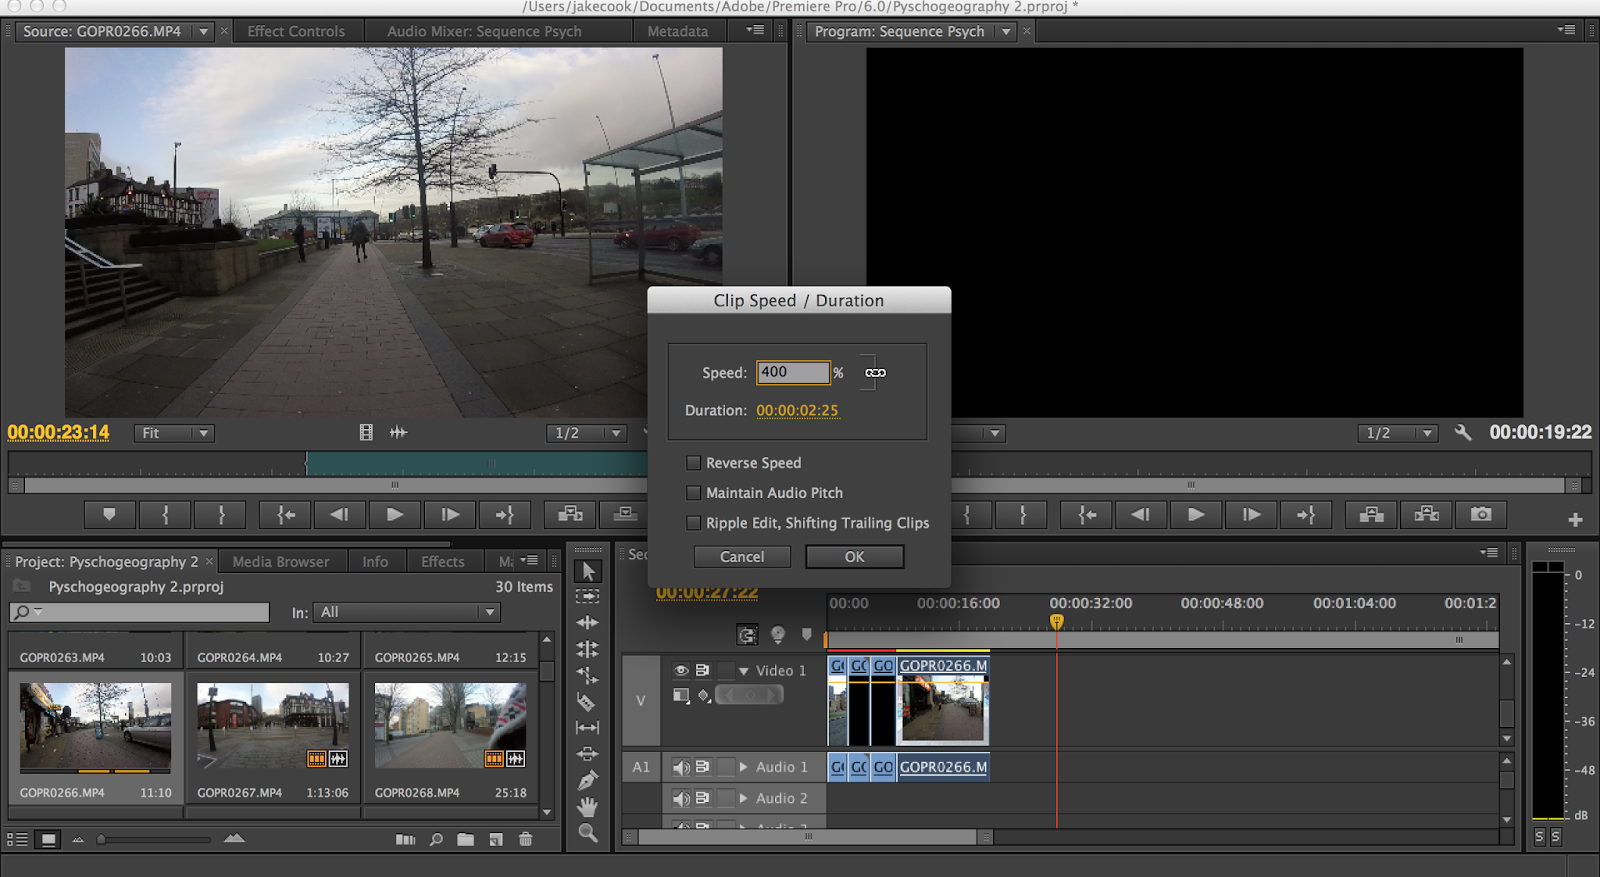 |
| I changed the Clip Speed from 100% to either 200%,300% or 400%, depending on the original length of the clip, to make it faster in order to decrease the length of the whole finished film and to make it more visually interesting. |
 |
| After the Clip Speed had been edited, the clip next to the now shorter clip was in the same place on the timeline so I had to 'Ripple Delete' the empty space. |
 |
| A lot of the time I didn't want the whole of the clip in the final film because they were too long, so I had to select the part of the clip I did want. To do this, I selected where I wanted it to start by pressing 'I' (In) when viewing the clip, then 'O' (Out) when I wanted it to end. Then I dragged the chosen piece onto the timeline and that is what would appear in the finished piece. |
 |
| I did not want audio in my piece, as that is not what I was trying to capture and the audio on the GoPro wasn't great quality, so I had to delete this from my clips. The audio is automatically linked to each film clip, so to delete the audio I first had to 'unlink' it. This was done by selected all the clips on the timeline, right clicking and selecting the 'unlink' option. |
 |
| To create a fade out at the beginning and end of the finished film, I selected the pen tool and created 2 points where I wanted the film to start fading in at the beginning and out at the end. By dragging the yellow line across the film I was able to change the opacity, which created a fade effect. |
 |
| When I had finished editing each clip and the film was put together, I had to render the film, which makes all the clips join together as one piece to play through without glitching or freezing. |
No comments:
Post a Comment